Jupyter notebooks 安装与使用
Jupyter installation
Reference: http://jupyter.readthedocs.org/en/latest/install.html
##安装
如果安装了anaconda,则可以使用如下操作安装:
conda update jupyter如果没有,则使用pip安装:
pip install jupyter
配置后台进程服务
创建用户用作运行jupyter:
addusr ipython编辑/etc/sudoers,并将其加入sudo用户组。
ipython ALL=(ALL) ALL编辑/usr/lib/systemd/system/ipython-notebook.service,然后根据自己的要求进行配置,比如–ip=0.0.0.0表示允许外网访问:
[Unit] Description=IPython notebook [Service] Type=simple PIDFile=/var/run/ipython-notebook.pid ExecStart=/usr/local/anaconda2/bin/jupyter notebook --ip=0.0.0.0 --no-browser User=ipython Group=ipython WorkingDirectory=/home/ipython/notebooks [Install] WantedBy=multi-user.target--注意:如果没有/usr/lib/systemd/system/ipython-notebook.service,这个文件,可以直接指定启动的参数:
jupyter notebook --allow-root --ip=0.0.0.0 --no-browser然后重载deamon并运行服务:
systemctl daemon-reload
systemctl enable ipython-notebook
systemctl start ipython-notebook
这样即在后台运行jupyter notebook服务了:
[root@centos7 ~]# netstat -ant
Active Internet connections (servers and established)
Proto Recv-Q Send-Q Local Address Foreign Address State
tcp 0 0 0.0.0.0:8787 0.0.0.0:* LISTEN
tcp 0 0 0.0.0.0:22 0.0.0.0:* LISTEN
tcp 0 0 0.0.0.0:8888 0.0.0.0:* LISTEN
打开防火墙
由于想使用外网接入,因此需要在iptables里面打开端口8888,否则便会connection refused:iptables -A IN_public_allow -p tcp -m tcp --dport 8888 -m conntrack --ctstate NEW -j ACCEPT
验证安装
打开浏览器,输入ip:8888即可:选择Untiled.ipynb,或者直接右边选择python
notebooks验证
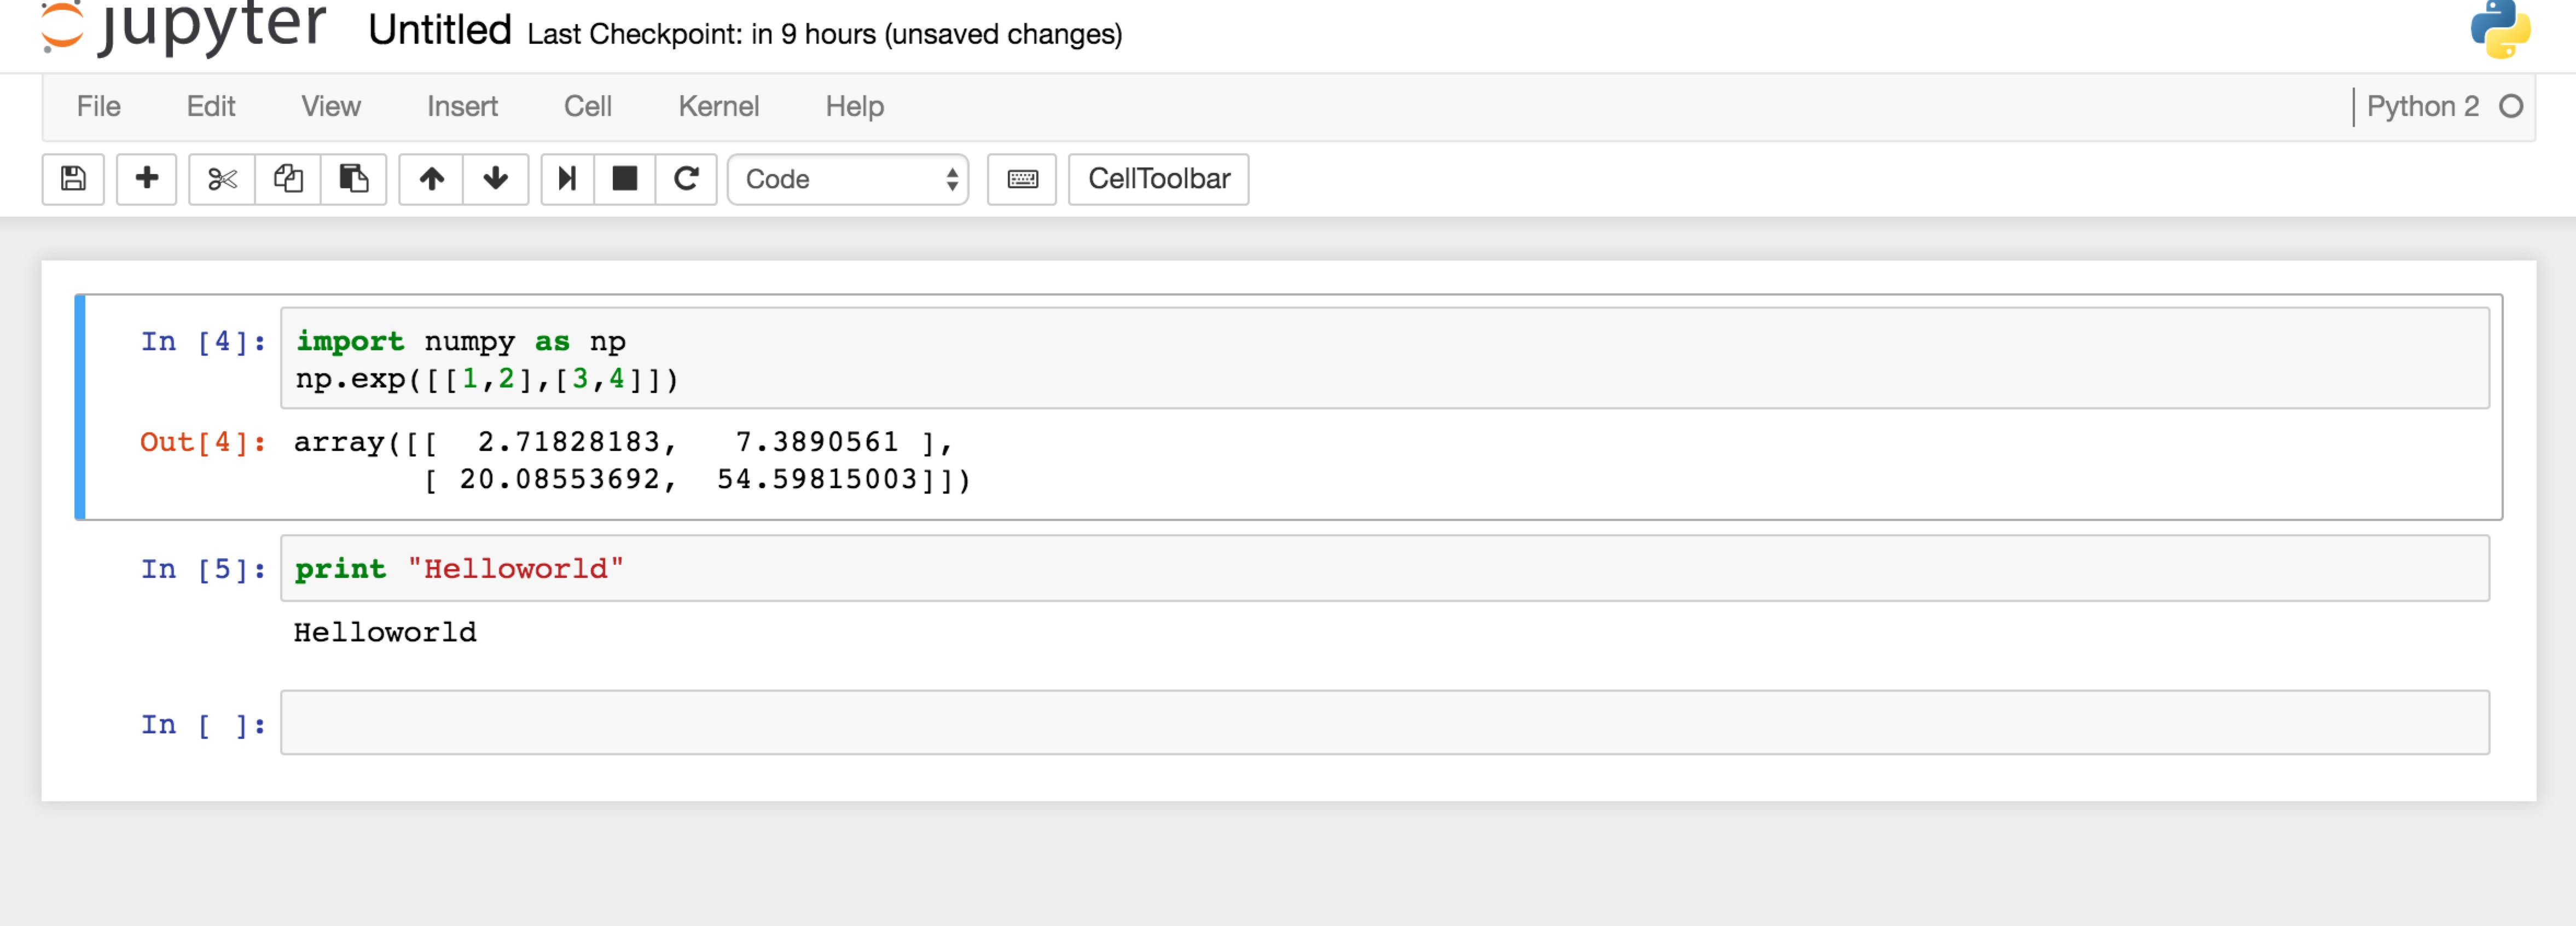
然后new一个 notebook进行验证:

结果:
terminal验证
new 一个terminal 进行验证:

