二、安装gitlab
2.1、安装好gitlab组件
[root@10.21.214.221 ~]# yum -y install curl policycoreutils openssh-server openssh-clients postfix
2.2、配置yum创库
curl -sS https://packages.gitlab.com/install/repositories/gitlab/gitlab-ce/script.rpm.sh | bash
2.3、启动postfix油价服务
systemctl start postfix
2.4、安装gitlab-ce社区版本(1G)
yum install -y install gitlab-ce
2.5、证书
[root@10.21.214.221 ~]# mkdir /etc/gitlab/ssl -p
[root@10.21.214.221 ~]#
##创建私有密钥
[root@10.21.214.221 ~]# openssl genrsa -out "/etc/gitlab/ssl/gitlab.example.com.key" 2048
Generating RSA private key, 2048 bit long modulus
.......................+++
.............................................................................................................................+++
e is 65537 (0x10001)

##利用私有密钥,创建csr证书
[root@10.21.214.221 ~]# openssl req -new -key "/etc/gitlab/ssl/gitlab.example.com.key" -out "/etc/gitlab/ssl/gitlab.example.com.csr"
You are about to be asked to enter information that will be incorporated
into your certificate request.
What you are about to enter is what is called a Distinguished Name or a DN.
There are quite a few fields but you can leave some blank
For some fields there will be a default value,
If you enter '.', the field will be left blank.
-----
Country Name (2 letter code) [XX]:cn
State or Province Name (full name) []:bj
Locality Name (eg, city) [Default City]:bj
Organization Name (eg, company) [Default Company Ltd]:
Organizational Unit Name (eg, section) []:
Common Name (eg, your name or your server's hostname) []:gitlab.example.com
Email Address []:admin@example.com

Please enter the following 'extra' attributes
to be sent with your certificate request
A challenge password []:123456
An optional company name []:

##利用私有密钥+csr证书,创建一个签署证书
[root@10.21.214.221 ssl]# openssl x509 -req -days 365 -in "/etc/gitlab/ssl/gitlab.example.com.csr" -signkey "/etc/gitlab/ssl/gitlab.example.com.key" -out "/etc/gitlab/ssl/gitlab.example.com.crt"
Signature ok
subject=/C=cn/ST=bi/L=bj/O=Default Company Ltd/CN=gitlab.example.com/emailAddress=admin@example.com
Getting Private key

##使用openssl,创建dhparam证书,需要很长的一段时间,可以先弄后面的conf配置修改
[root@10.21.214.221 ssl]# openssl dhparam -out "/etc/gitlab/ssl/dhparams.pem" 2048

##修改为600权限
[root@10.21.214.221 ssl]# chmod 600 *
[root@10.21.214.221 ssl]# ll
总用量 16
-rw------- 1 root root  424 3月  17 16:14 dhparams.pem
-rw------- 1 root root 1281 3月  17 16:11 gitlab.example.com.crt
-rw------- 1 root root 1074 3月  17 16:08 gitlab.example.com.csr
-rw------- 1 root root 1679 3月  17 16:07 gitlab.example.com.key
2.6、修gitlab配置,添加上证书
[root@10.21.214.221 ssl]# cat /etc/gitlab/gitlab.rb | grep -v '^#' | grep -v "^$"
external_url 'https://gitlab.example.com'
nginx['redirect_http_to_https'] = true
nginx['ssl_certificate'] = "/etc/gitlab/ssl/gitlab.example.com.crt"
nginx['ssl_certificate_key'] = "/etc/gitlab/ssl/gitlab.example.com.key"
nginx['ssl_dhparam'] = '/etc/gitlab/ssl/dhparams.pem'

##执行初始化文件,生成nginx,数据等
[root@10.21.214.221 ssl]# gitlab-ctl reconfigure

##修改nginx,设置为https重定向
[root@10.21.214.221 ssl]# vim /var/opt/gitlab/nginx/conf/gitlab-http.conf
server {
  listen *:80;
  server_name gitlab.example.com;
  rewrite ^(.*)$ https://$host$1 permanent;

##重启
[root@10.21.214.221 ssl]# gitlab-ctl restart
三、界面操作
3.1、修改主机文件
[root@node01 ~]# vim /etc/hosts
10.21.214.221 gitlab.example.com
3.2、在客户端上,输入网址
https://gitlab.example.com/
第一次进入的时候,会让你修改root的密码,直接输入8位数字

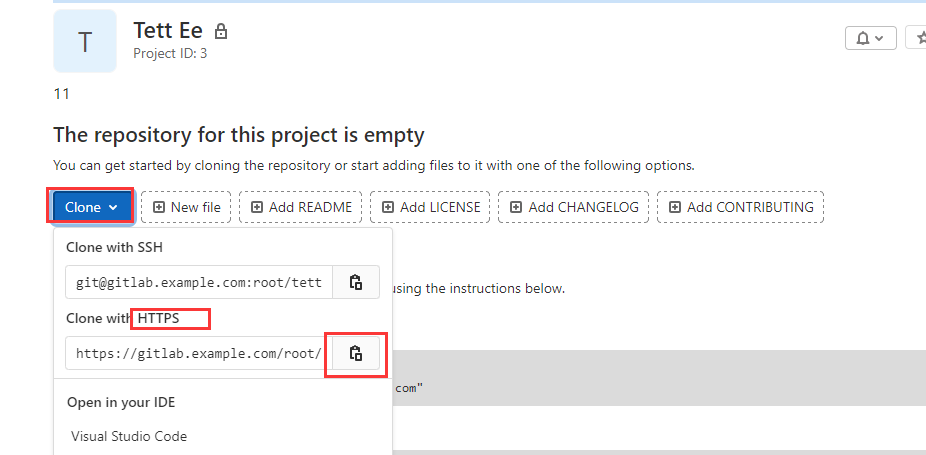
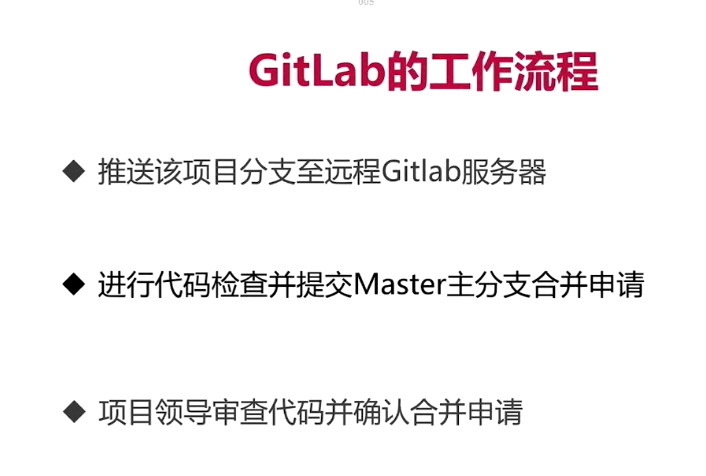
[root@node01 ~]# git -c http.sslVerify=false clone https://gitlab.example.com/root/test-repo.git
正克隆到 'test-repo'...
Username for 'https://gitlab.example.com': root
Password for 'https://root@gitlab.example.com':
warning: 您似乎克隆了一个空版本库。
[root@node01 ~]# cd test-repo/
[root@node01 test-repo]# ls
[root@node01 test-repo]# vim test.py
print "this is "
[root@node01 test-repo]# ls
test.py
[root@node01 test-repo]# git add .
[root@node01 test-repo]# git commit -m"Frist commit"
[master(根提交) 495fca7] Frist commit
 1 file changed, 1 insertion(+)
 create mode 100644 test.py
[root@node01 test-repo]# git -c http.sslVerify=false push origin master
Username for 'https://gitlab.example.com': root
Password for 'https://root@gitlab.example.com':
Counting objects: 3, done.
Writing objects: 100% (3/3), 217 bytes | 0 bytes/s, done.
Total 3 (delta 0), reused 0 (delta 0)
To https://gitlab.example.com/root/test-repo.git
 * [new branch]      master -> master


##最后刷新一下网页,就有你上传的网页了
3.3、其他功能介绍
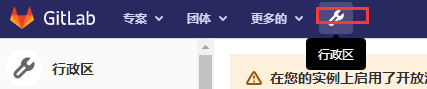
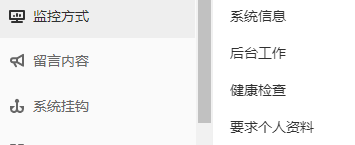
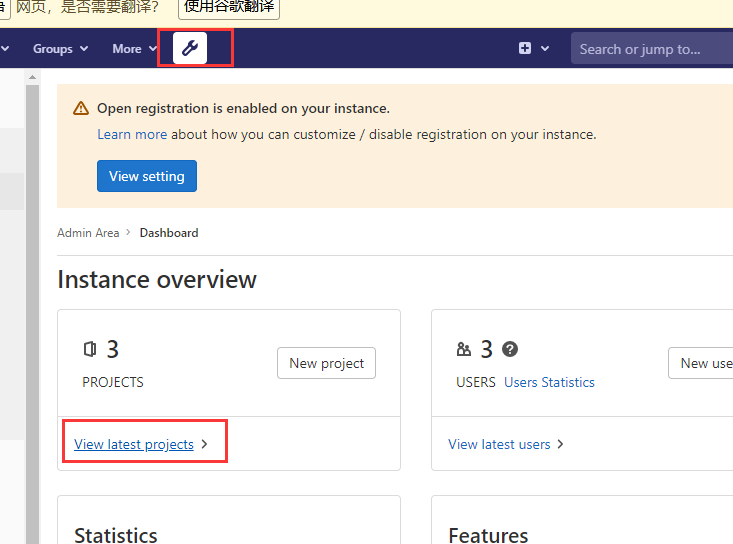
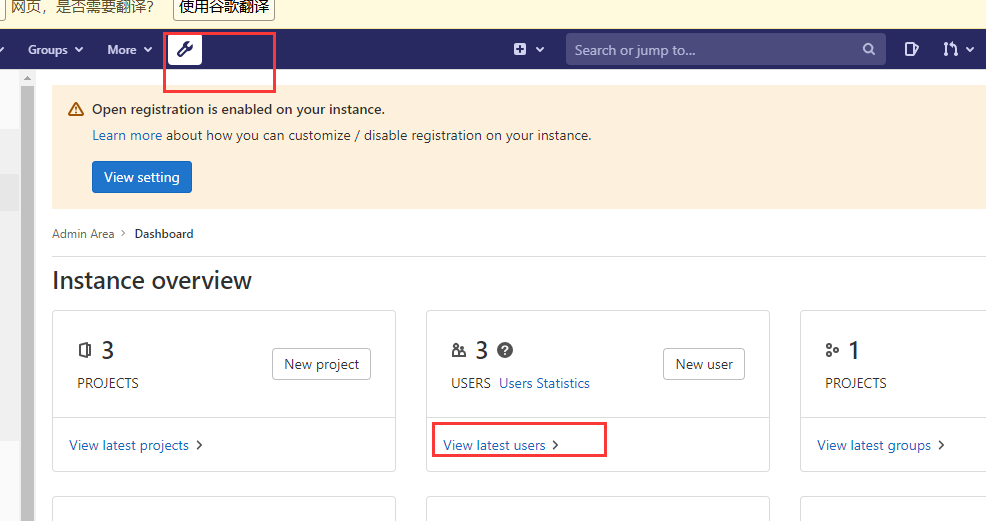
3.3.1、机器运行情况查看
3.3.2、用户,权限设置
---创建普通用户账号---
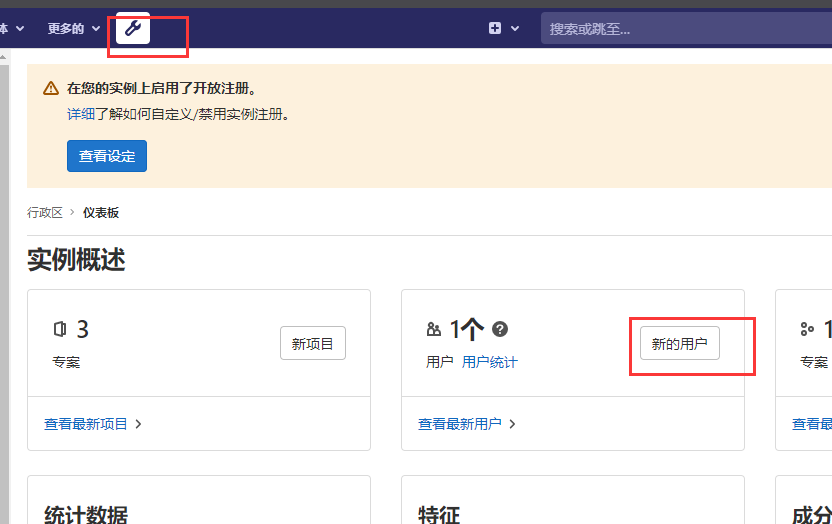
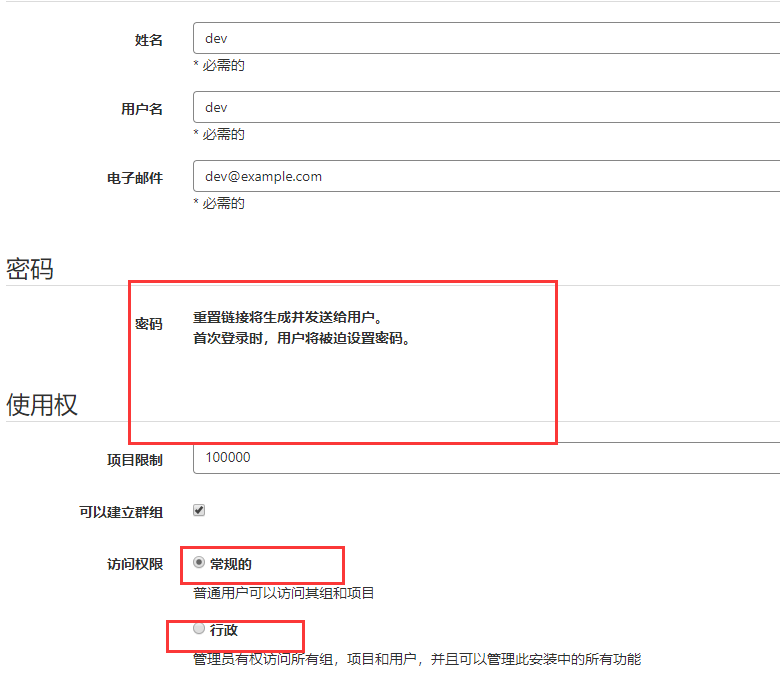
---创建领导账号---
通过同样的方法创建lead,同时也只是给常规的权限
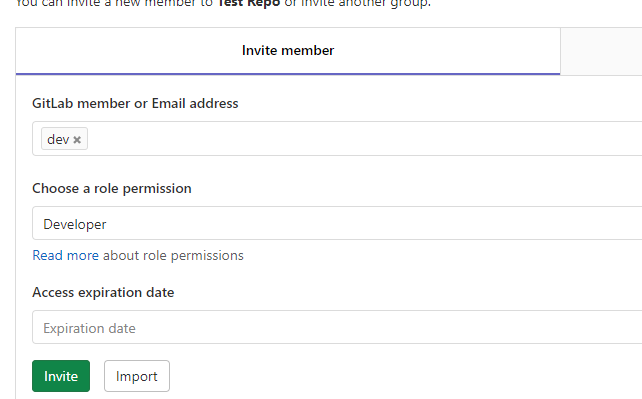
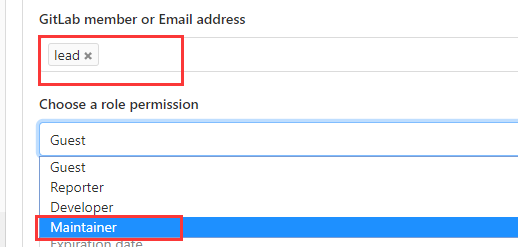
3.4、授权
----进入对应的项目

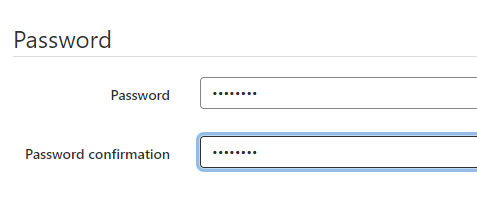
3.5、配置两个用户的初始密码、
由于那个邮件是无法发送邮件的,所以无法给用户发账号密码,所以需要我们自己初始化

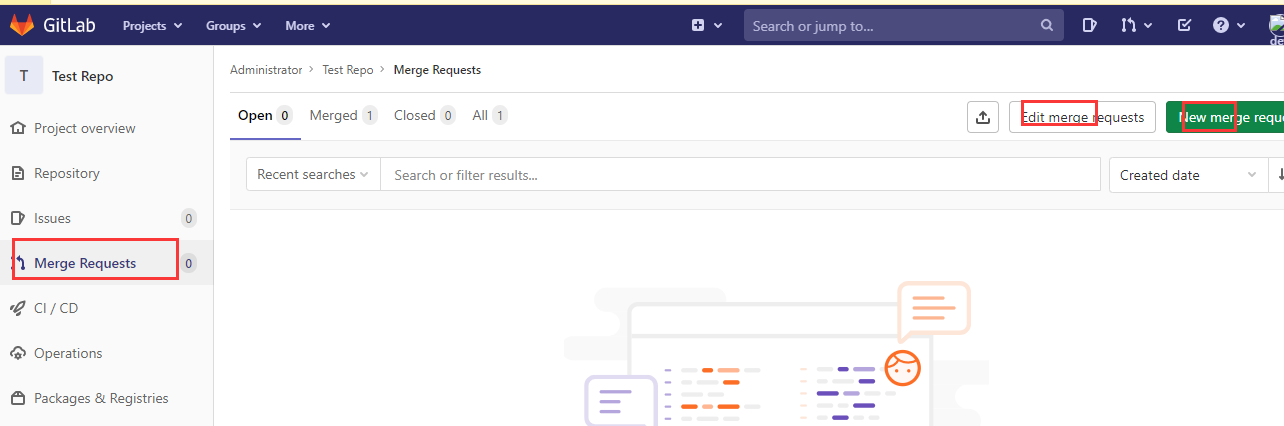
3.6、dev测试
[root@node01 ~]# rm -rf test-repo/
[root@node01 ~]# git -c http.sslVerify=false clone https://gitlab.example.com/root/test-repo.git
正克隆到 'test-repo'...
Username for 'https://gitlab.example.com': dev
Password for 'https://dev@gitlab.example.com':
remote: Enumerating objects: 3, done.
remote: Counting objects: 100% (3/3), done.
remote: Total 3 (delta 0), reused 0 (delta 0), pack-reused 0
Unpacking objects: 100% (3/3), done.
[root@node01 ~]# cd test-repo/
[root@node01 test-repo]# ls
test.py
[root@node01 test-repo]# git checkout -b release-1.0
切换到一个新分支 'release-1.0'
[root@node01 test-repo]# ls
test.py
[root@node01 test-repo]# vim test.py
print "this is a test code for release-1.0"

[root@node01 test-repo]# git add .
[root@node01 test-repo]# git commit -m "release-1.0"
[release-1.0 adb2b22] release-1.0
1 file changed, 1 insertion(+), 1 deletion(-)
[root@node01 test-repo]# git -c http.sslVerify=false push origin release-1.0
Username for 'https://gitlab.example.com': dev
Password for 'https://dev@gitlab.example.com':
Counting objects: 5, done.
Writing objects: 100% (3/3), 273 bytes | 0 bytes/s, done.
Total 3 (delta 0), reused 0 (delta 0)
remote:
remote: To create a merge request for release-1.0, visit:
remote: https://gitlab.example.com/root/test-repo/-/merge_requests/new?merge_request%5Bsource_branch%5D=release-1.0
remote:
To https://gitlab.example.com/root/test-repo.git
* [new branch] release-1.0 -> release-1.0
[root@node01 test-repo]#
提交合并到master的请求给lead审核。。